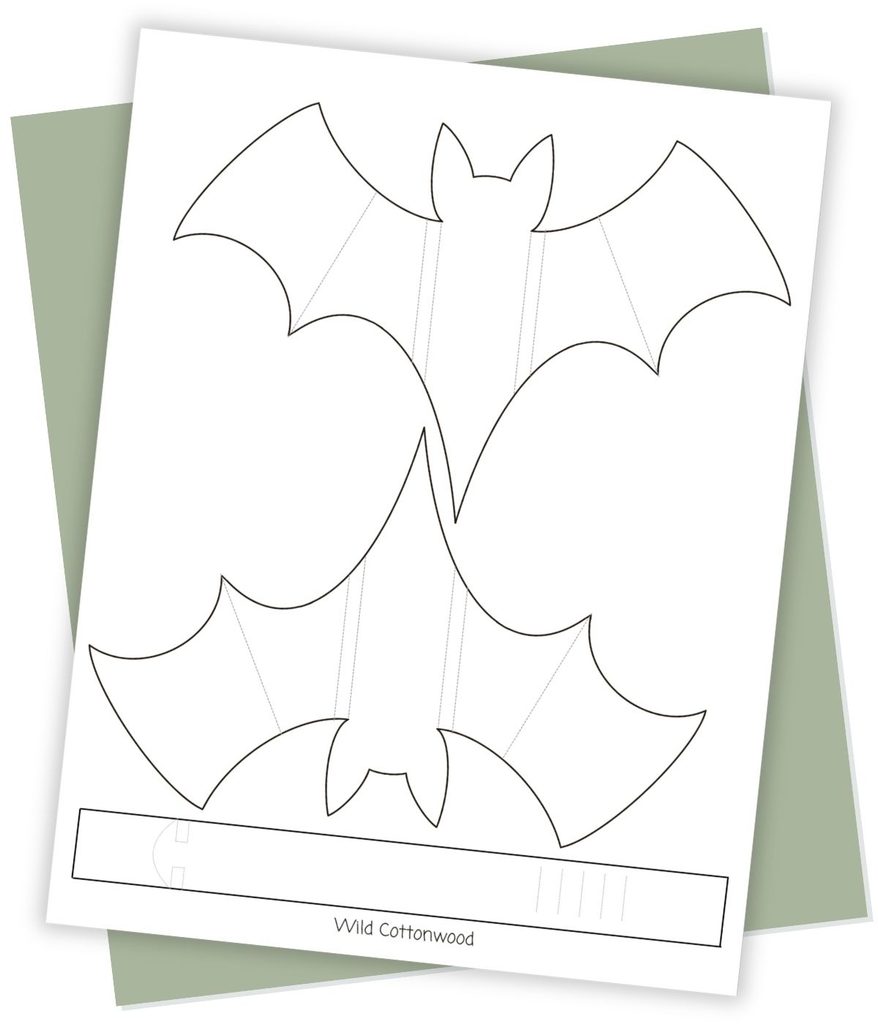
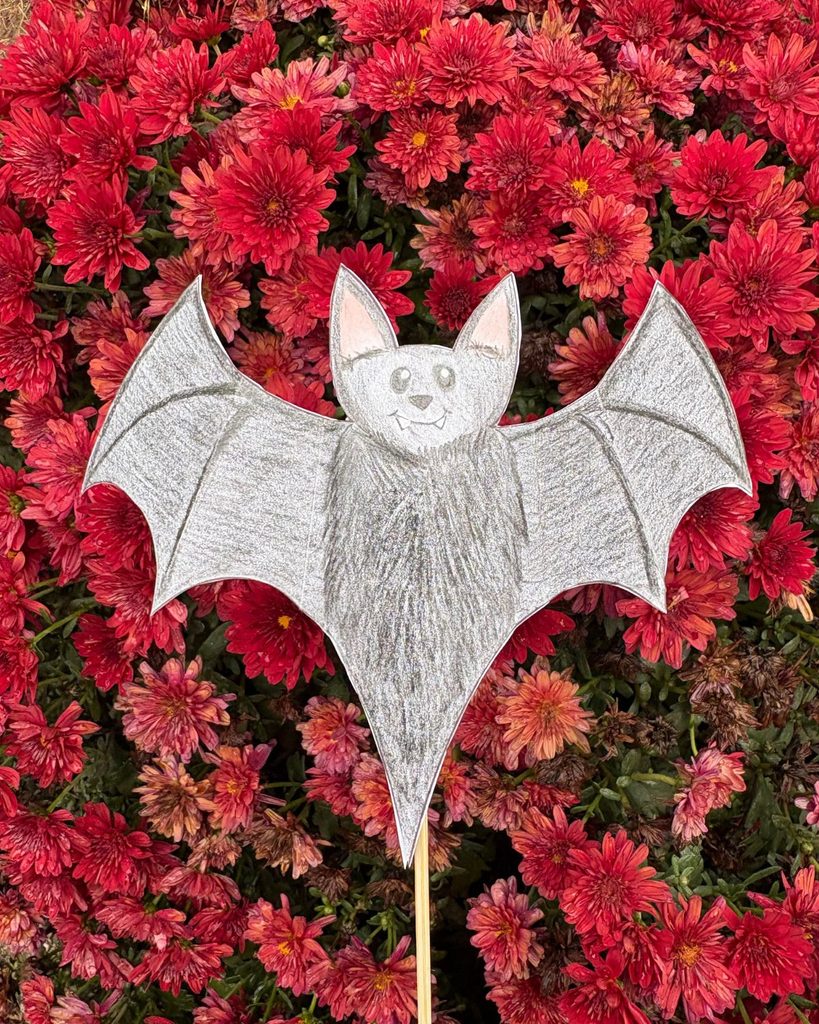
Looking for a fun and easy Halloween craft for kids? This free printable flapping bat craft is ready to color, cut out, and bring to life! With wings that actually flap, it’s a simple craft that kids will love making and playing with.
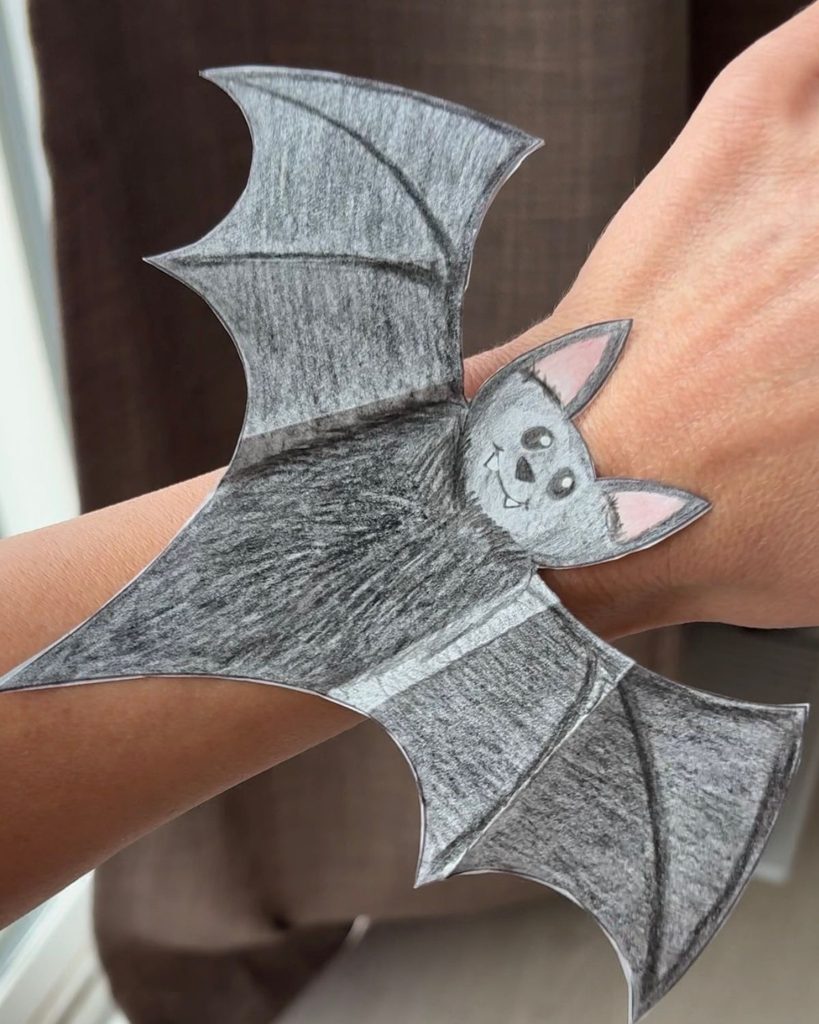
Wear your bat as a bracelet and watch its wings flutter as you move your arm, or attach it to a craft stick and make it fly through the air! It’s a fun, screen-free Halloween activity that encourages creativity and imaginative play.
A Fun and Easy Halloween Bat Craft
One of my favorite things about printable crafts is how quickly they can turn an ordinary afternoon into something fun.
With just a few basic supplies, kids can create their own little bats, decorate them however they like, and have fun making their wings flap.
Make a classic black bat, try some colorful patterns, or let your kids come up with their own designs!
What You’ll Need
- Free printable bat template (download below!)
- Regular printer paper
- Crayons, markers, or colored pencils
- Scissors
- Glue or tape
- A wooden dowel or craft stick (optional)
- Lightweight black paper (optional)
How to Make Your Flapping Bat Craft
Step 1: Print your bat template.
Download the free printable below and print it on standard 8.5 × 11-inch printer paper. Regular printer paper works best because the lightweight wings flap more easily than cardstock.
Step 2: Color your bats.
Get creative! Make a classic black bat, add colorful patterns, or come up with your own unique designs.
If you’d like your bat to be double-sided, color both bats on the page. One will be the front and the other will be the back!
Step 3: Cut out your bats.
Carefully cut around the outlines of your bats and cut out the included paper strip. Younger kids may need a little help with this step.
Step 4: Glue together (optional).
For a double-sided bat, glue the two bats together with the colored sides facing outward. Let the glue dry before folding the wings.
You can also skip this step and make two separate bats!
Step 5: Fold the wings.
This is where your bat really comes to life!
- Double fold the inner portion of each wing to create a fun 3D pop-up effect.
- Fold the outer portion of each wing back to give your bat its flapping wings.
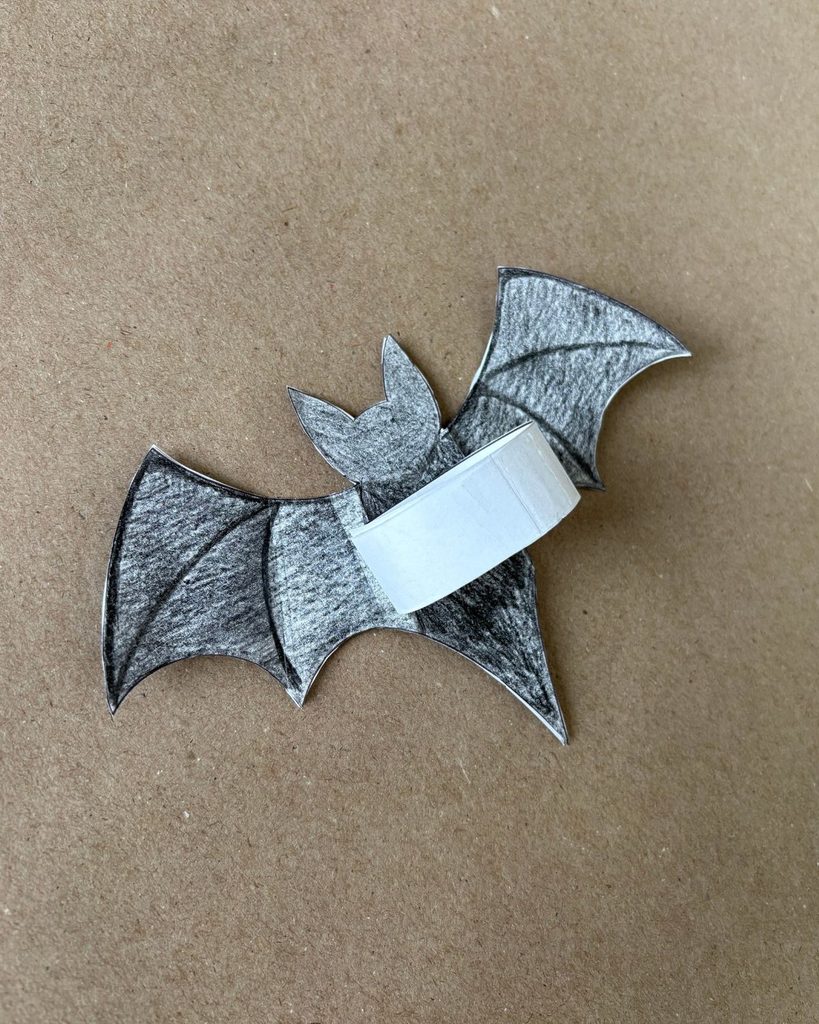
Step 6: Attach your bat to the paper strip.
Use glue or tape to attach your finished bat to the paper strip included in the printable.
Step 7: Make your bracelet!
Wrap the paper strip around your wrist and secure it using one of two methods:
- Easy option: Tape the ends of the strip together to fit your wrist.
- Tab-and-slot option: Carefully cut along the dotted lines on the paper strip to create a tab and slot. Slide the tab into the slot to secure your bracelet without tape.
Now give your arm a little wiggle and watch those bat wings flap!
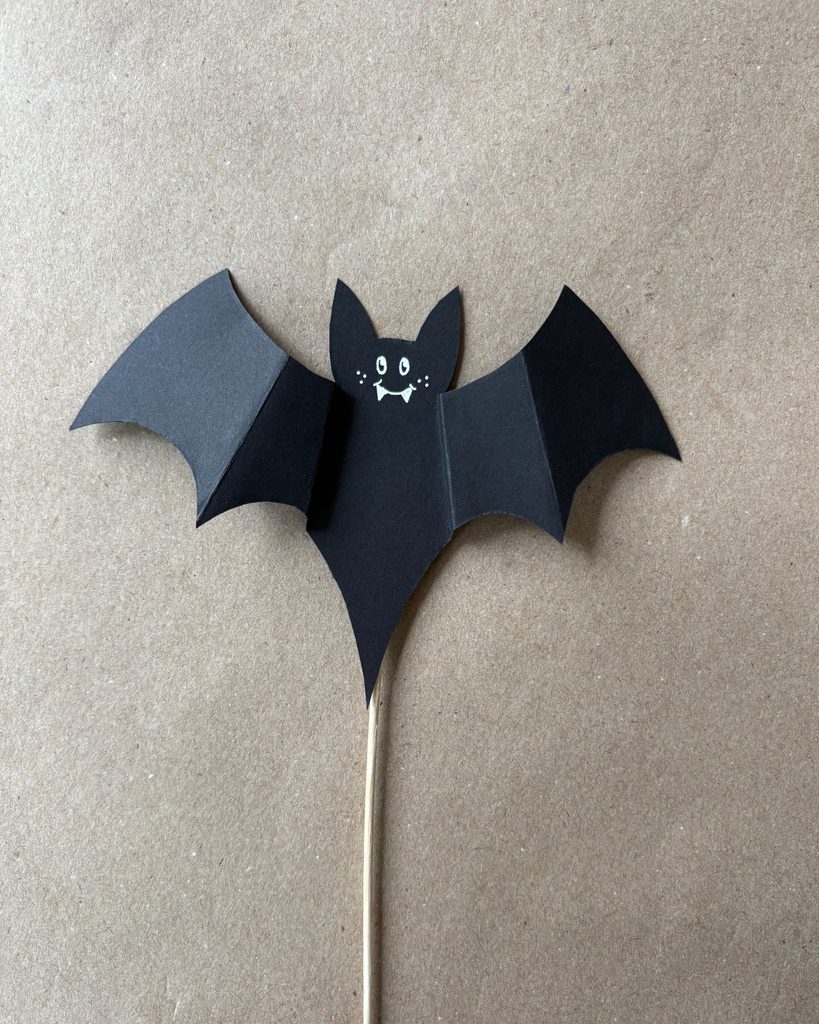
Want to try another way to play?
You can also attach your finished bat to a wooden dowel or craft stick and make it flutter through the air!
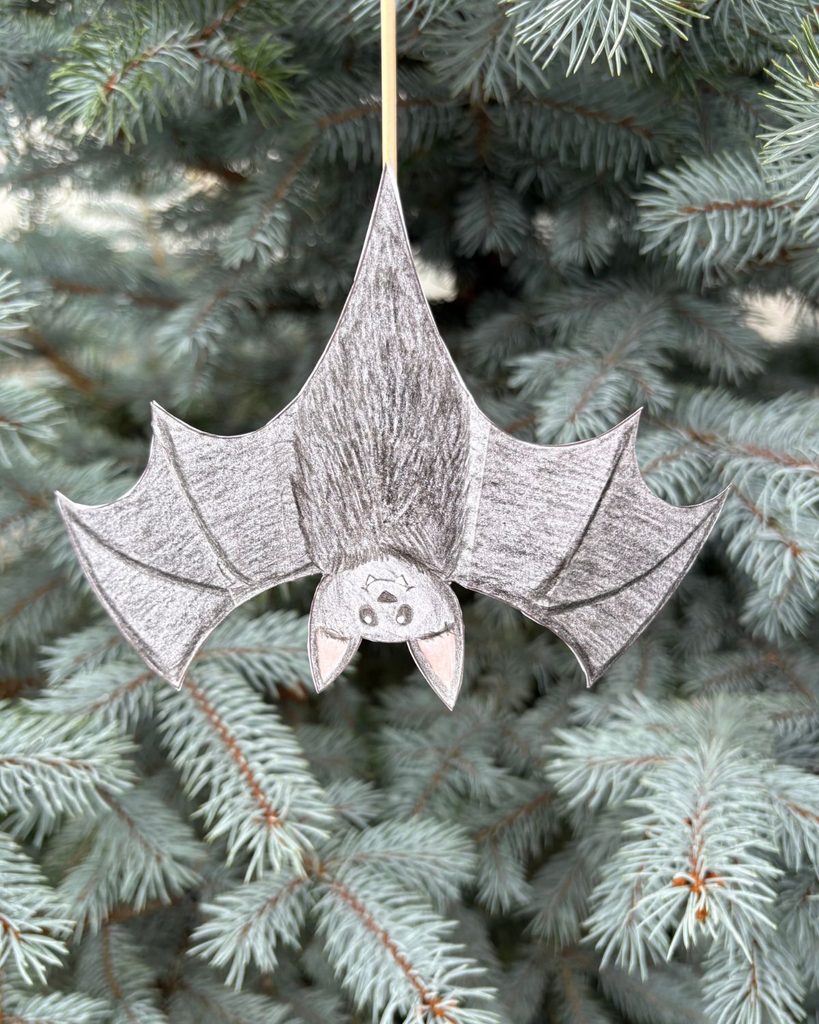
Want to Make a Classic Black Bat?
You can also use the printable as a template! Simply cut out the bat, trace it onto lightweight black construction paper, and cut out your new bat.
Just keep in mind that thinner paper makes the wings flap more easily!
Download Your Free Printable Bat Craft
Ready to make your own flapping bats?
Click the button below to download your free bat craft template, then print, color, and create!
More Fun With Your Bats
There are so many fun ways to play with these little bats once they’re finished!
Wear one on your wrist, make it fly around the backyard on a stick, or create a whole collection of colorful bats.
They’re a fun little Halloween activity that kids can keep playing with long after the crafting is done.
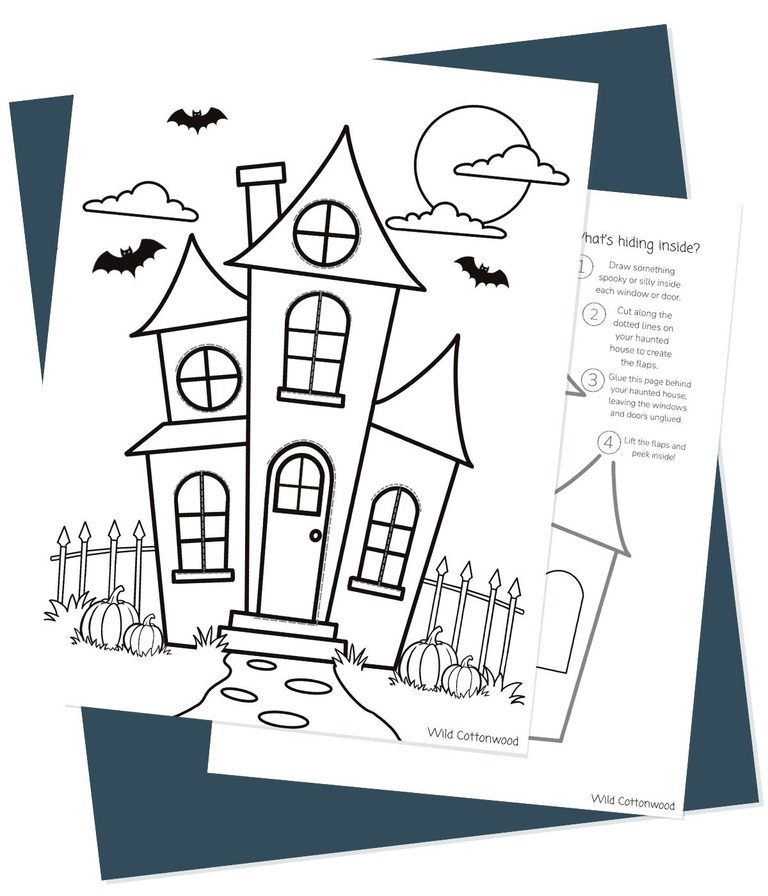
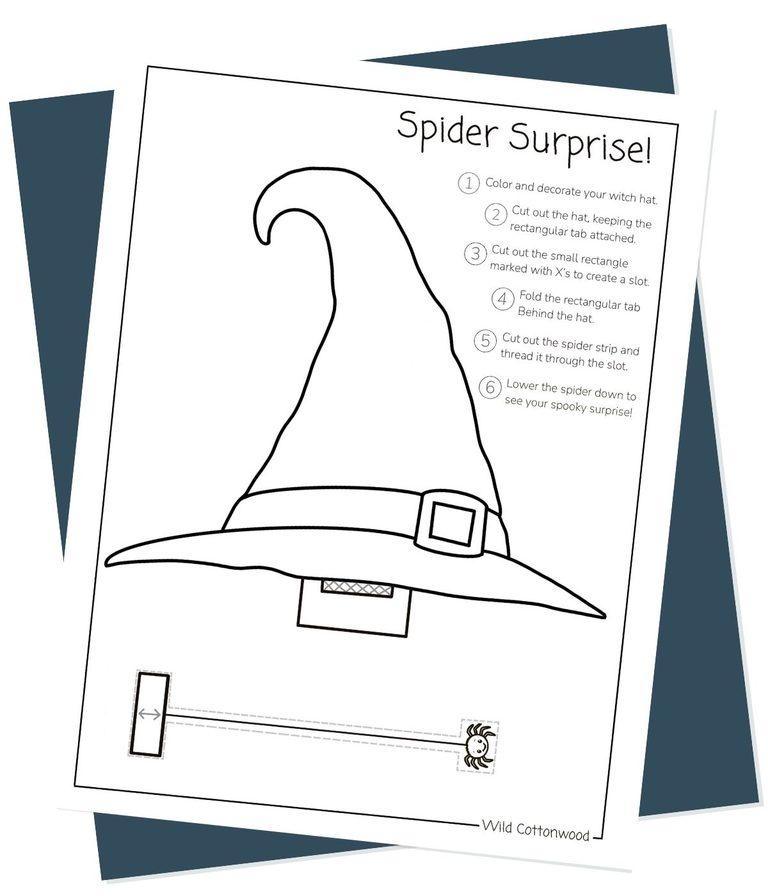
If you enjoyed this craft, be sure to check out more of my free Halloween printables here at Wild Cottonwood.
Happy crafting!